To create a blog, first you need to select where you would like to create your blog. For example: blogger or WordPress. Now I will show you how to create a blos in these websites.
BLOGGER
To create a blog in this site in necessary to get a Gmail account. If you do not have one, or you are not logged in, this is what your will see.
To continue, you need to create an account or log in if you already have one. After that, this is what you will see (sort of).
In my case, this blog shows up with the option of being edited. If this is your first time creating a blog, please select the option shown before and the following window will open automatically:
In the first line, you set a name for your blog. Try to be creative but simple (do not follow my example). On the URL you will to choose a domain that is not already taken. Do not worry if your title and your URL don´t match; they usually don´t. After setting the first two, chose a blog template. This is how your blog will look. Once you are done, select “Create Blog”.
To see how your blog looks like select the option in the green circle. To create a new post select the option on the orange circle.
Select the option: “Create Site” and you will be redirected here: Here you choose your theme. Once you´ve chosen it, this is what you will see:
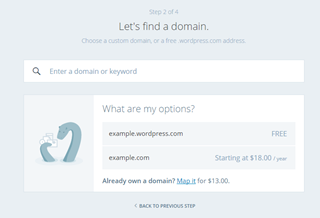
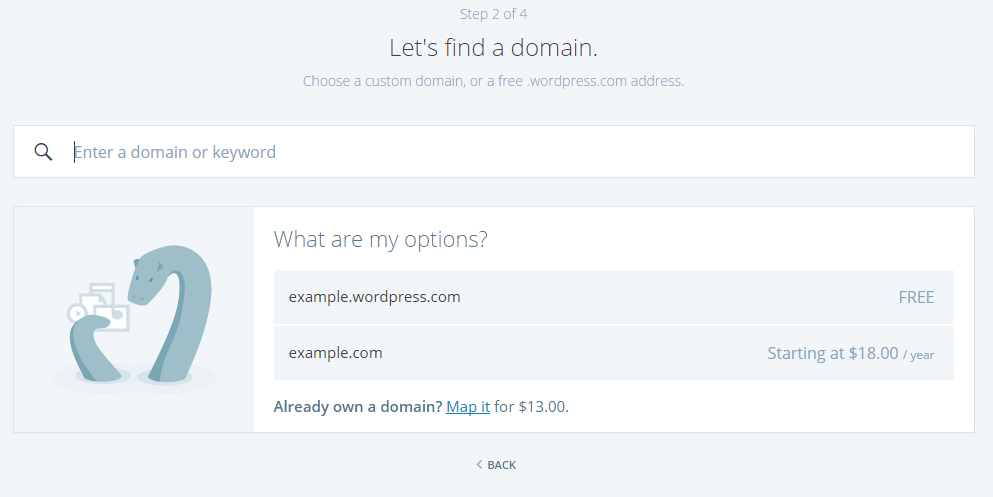
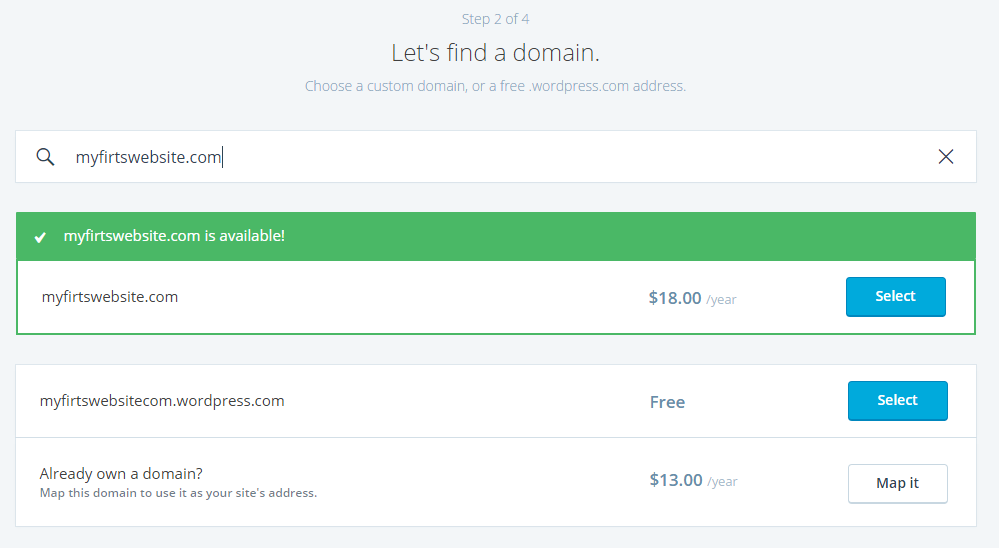
In here, you are being asked if you want a personalized domain for an extra fee, or the usual domain for WordPress users. Once you start typing, this will happen:
Once you select your domain this is what you will see:
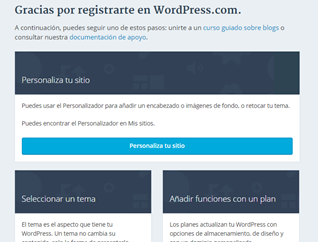
In here, you are being asked which kind of membership you want. The first one is totally basic but it´s free. The one on the right gives you a few privileges for an extra fee, and the one in the middle gives you total access to WordPress features for another fee. Once you are done, you will be asked to create an account on WordPress and they will show you this. Right now, you already have your blog. You just need to personalize it.
You´ve probably heard about the social network “Twitter”. Here I will show you how to create an account on Twitter. First of all, click on the following link: https://twitter.com/ . This is what you will see: Complete the table shown below. Once you are done select the option “Sign up for Twitter”
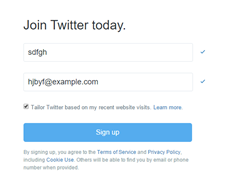
This is what you will see. On the first line you will see you name, and on the second line you will see your email address. Once you have seen the information is correct; click on “Sign up”. After that you will be asked to select you password. Make sure that this one contains special characters.
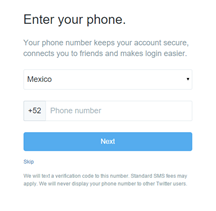
Here you can decide whether you want to enter your telephone number or not. The purpose of giving your telephone number is to receive a verification code from Twitter. Once you´ve done this, you will be asked to provide a username. This name will be displayed along with your name.
After this, all you need to do is click the option “Continue” reputedly until you see something like this:
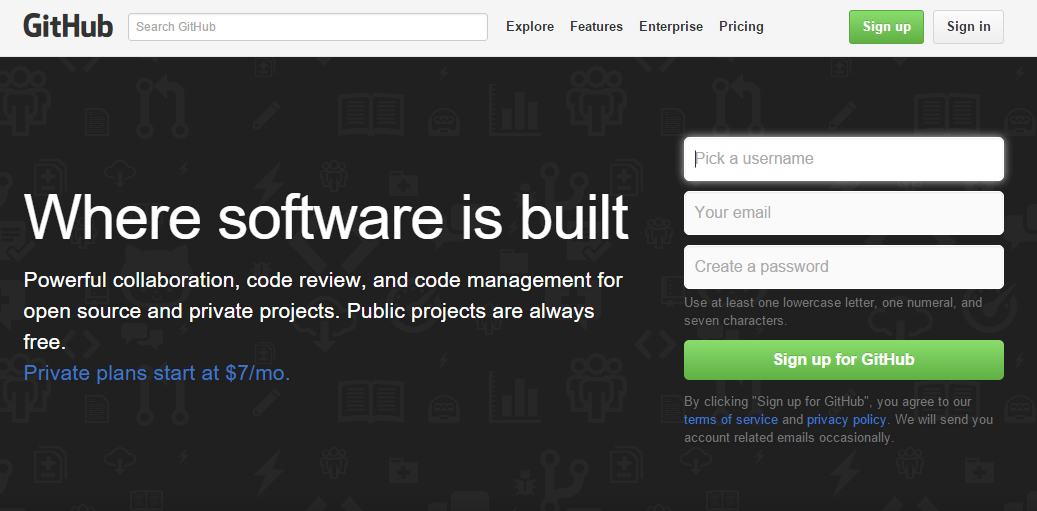
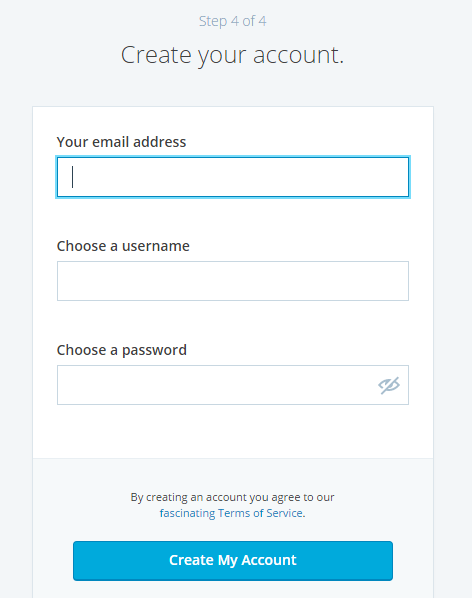
GitHub is a website designed for developers so they can share their code to the rest of the world and receive suggestions about it. To create a GitHub account, enter to the following website: https://github.com/ . Complete the table and select the option “Sing up for GitHub”
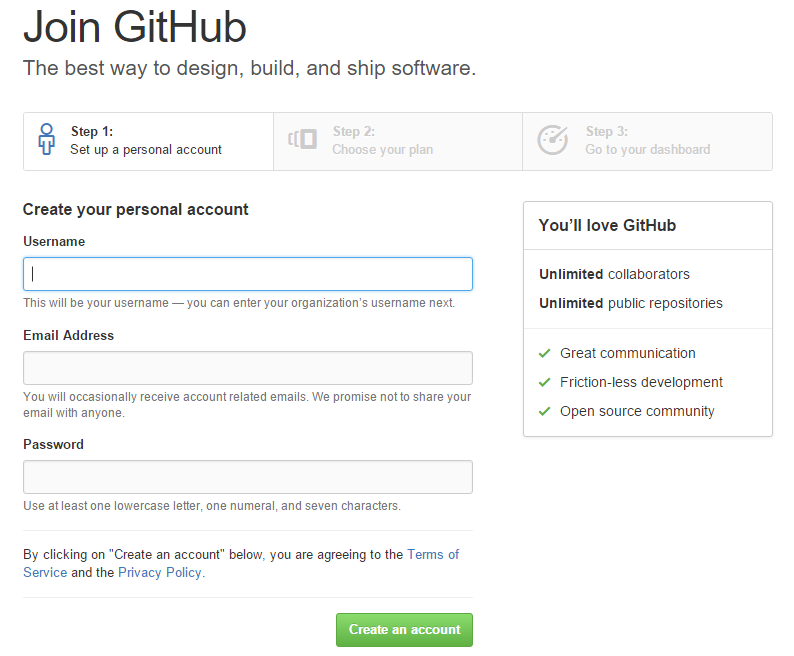
This will open a new window. Once you are here, go to the bottom of the page and select Finish Sing Up” And....That´s it
BLOGGER
To create a blog in this site in necessary to get a Gmail account. If you do not have one, or you are not logged in, this is what your will see.
To continue, you need to create an account or log in if you already have one. After that, this is what you will see (sort of).
In my case, this blog shows up with the option of being edited. If this is your first time creating a blog, please select the option shown before and the following window will open automatically:
In the first line, you set a name for your blog. Try to be creative but simple (do not follow my example). On the URL you will to choose a domain that is not already taken. Do not worry if your title and your URL don´t match; they usually don´t. After setting the first two, chose a blog template. This is how your blog will look. Once you are done, select “Create Blog”.
To see how your blog looks like select the option in the green circle. To create a new post select the option on the orange circle.
WORDPRESS
Select the option: “Create Site” and you will be redirected here:
Here you choose your theme. Once you´ve chosen it, this is what you will see:
In here, you are being asked if you want a personalized domain for an extra fee, or the usual domain for WordPress users. Once you start typing, this will happen:
Once you select your domain this is what you will see:
In here, you are being asked which kind of membership you want. The first one is totally basic but it´s free. The one on the right gives you a few privileges for an extra fee, and the one in the middle gives you total access to WordPress features for another fee. Once you are done, you will be asked to create an account on WordPress and they will show you this.
Right now, you already have your blog. You just need to personalize it.
TWITTER
You´ve probably heard about the social network “Twitter”. Here I will show you how to create an account on Twitter. First of all, click on the following link: https://twitter.com/ . This is what you will see:
Complete the table shown below. Once you are done select the option “Sign up for Twitter”
This is what you will see. On the first line you will see you name, and on the second line you will see your email address. Once you have seen the information is correct; click on “Sign up”. After that you will be asked to select you password. Make sure that this one contains special characters.
Here you can decide whether you want to enter your telephone number or not. The purpose of giving your telephone number is to receive a verification code from Twitter. Once you´ve done this, you will be asked to provide a username. This name will be displayed along with your name.
After this, all you need to do is click the option “Continue” reputedly until you see something like this:
GITHUB
GitHub is a website designed for developers so they can share their code to the rest of the world and receive suggestions about it. To create a GitHub account, enter to the following website: https://github.com/ . Complete the table and select the option “Sing up for GitHub”
This will open a new window. Once you are here, go to the bottom of the page and select Finish Sing Up”
And….That´s it
]]>


