I just installed the software that i’m going to use. I really don’t know how to use it but i’m so excited. Stay on to see more posts!
And here they are….
Cygwin Terminal and Atom Editor.


![]()
Fundamentals and Solutions. Together!

I just installed the software that i’m going to use. I really don’t know how to use it but i’m so excited. Stay on to see more posts!
And here they are….
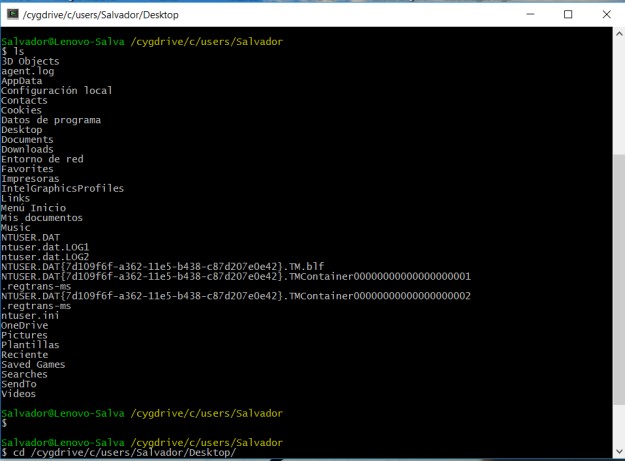
Cygwin Terminal and Atom Editor.
![]()

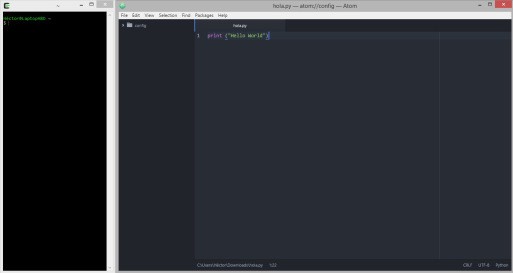
Para instalar el editor fué facil, solo necesitas entrar a esta pagina https://atom.io y lo que sigue es “pan comido”. El problema fué con el compilador ya que no entendia que era el GNU C++ o que diferencia existia entre esto y g++. Me encontre el video perfecto en donde explica paso a paso lo que debe de hacerse para descargar el Cygwin y como incorporar el G++.

![]()
 Well guys I finally have my coding workshop and I’m gonna tell you how I did it. Of course I couldn’t have done it alone. I got a some help from Cristian Moreno and I also took a look at Jose’s Blog.
Alright first let me tell you what computer and operative system I’m using.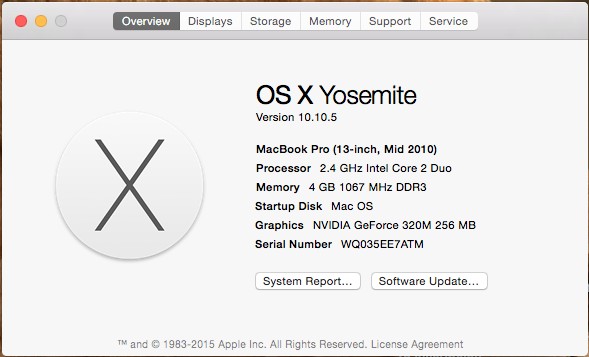
If your using a Mac, the first thing to do is download Xcode from the App Store. The downfall is that it takes up a lot of memory.
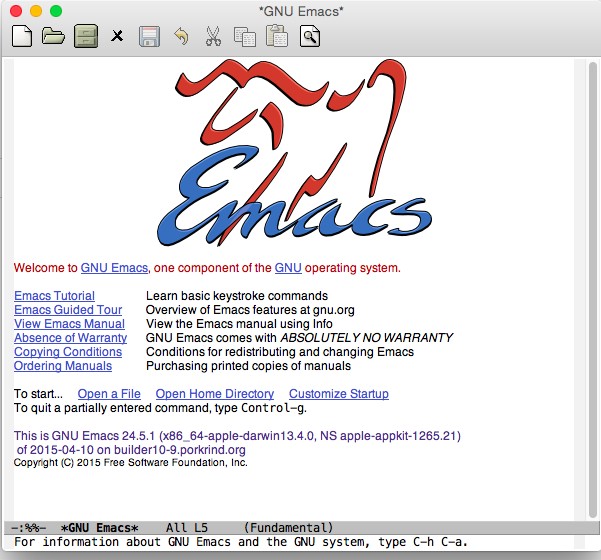
 The editor I chose was emacs. Here is the link where I downloaded it Emacs. Next open up Terminal from your utilities folder. the utilities folder is inside the applications folder. Follow the on screen instructions.
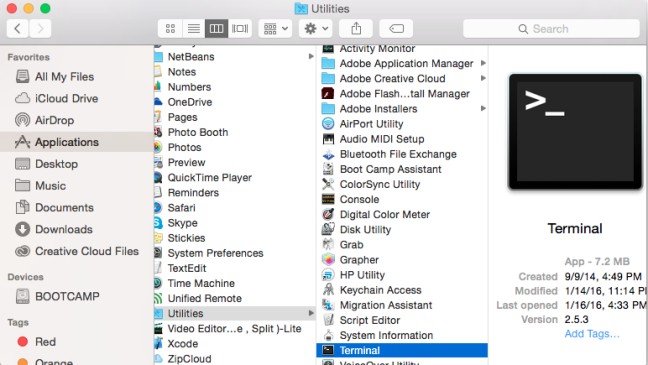
Here is a link that Ken gave us for g++ so that your terminal can run the programs that you make. Hombrew, simply paste the text (the one it tells you to paste) on your terminal.
Thats pretty much it. Your ready to program.

![]()
For this assignment I had to download several programs. I started with Cygwin; however, I got confused. Therefore, I had to ask Ken by twitter and he provided me his youtube video. Despite that, what I was doing did not got as well as Ken´s video was doing.
But he helped me out afterwards. Hooray!

After this inconvenience, I continued installing Notepad++, Emacs and Atom.

![]()
First, I decided to get the platform for coding, for this I asked MR. Ken, he suggested Cygwin, he showed us on this video how to get it done. Link
After it was completed, this icon appeared on the desktop

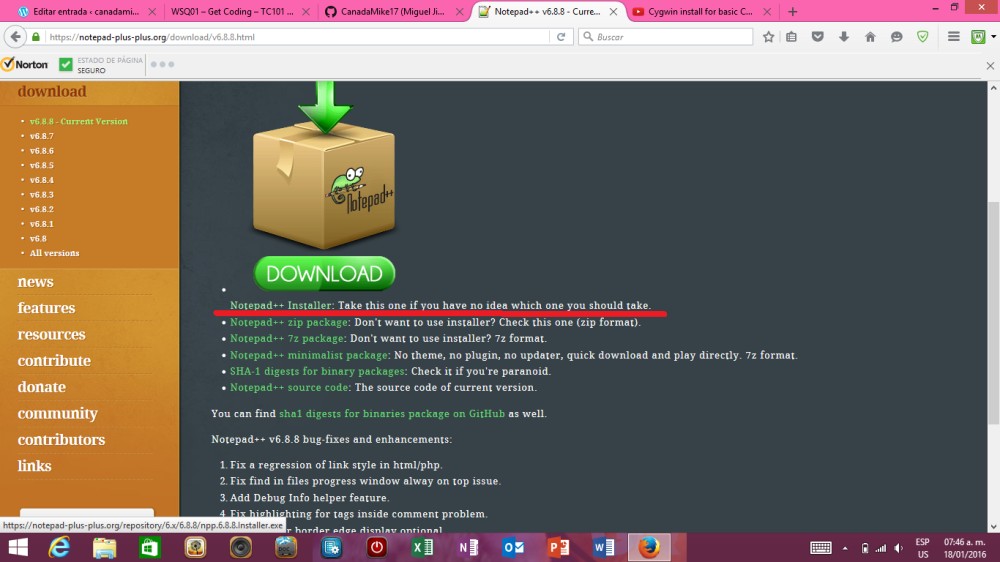
Then I moved on to get the editor. First I tried with Atom, but the installer wouldn’t work on my pc, therefore I move on to Ken’s suggestion for Windows “Notepad++” where the page suggests you which one to get in order to fit your necessity.
After installation is completed this icon would appear on your desktop if you decide to include it during installation.
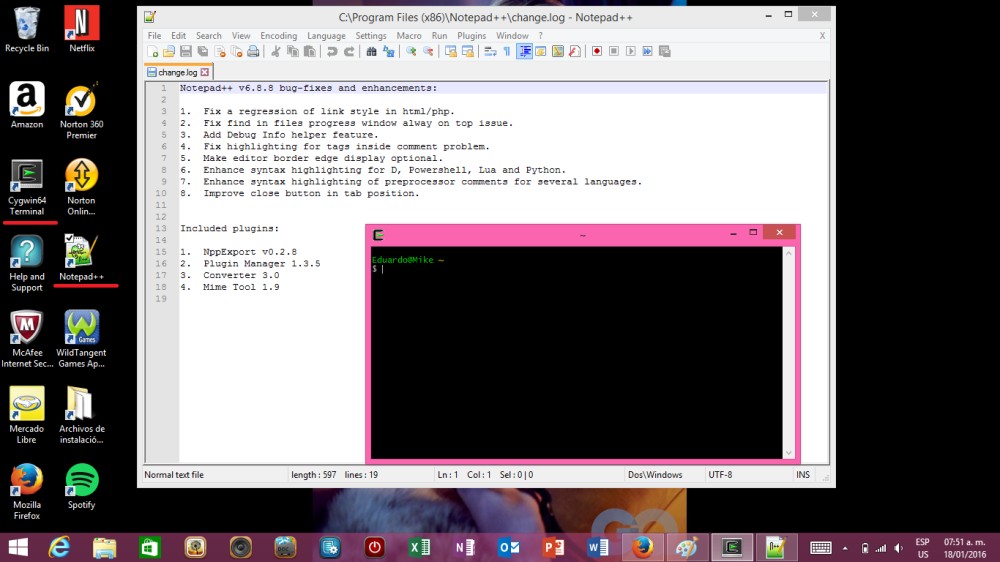
Once you open both, this is how it should be seen.
And there you have it done…
Penny Board because yes 😀


![]()
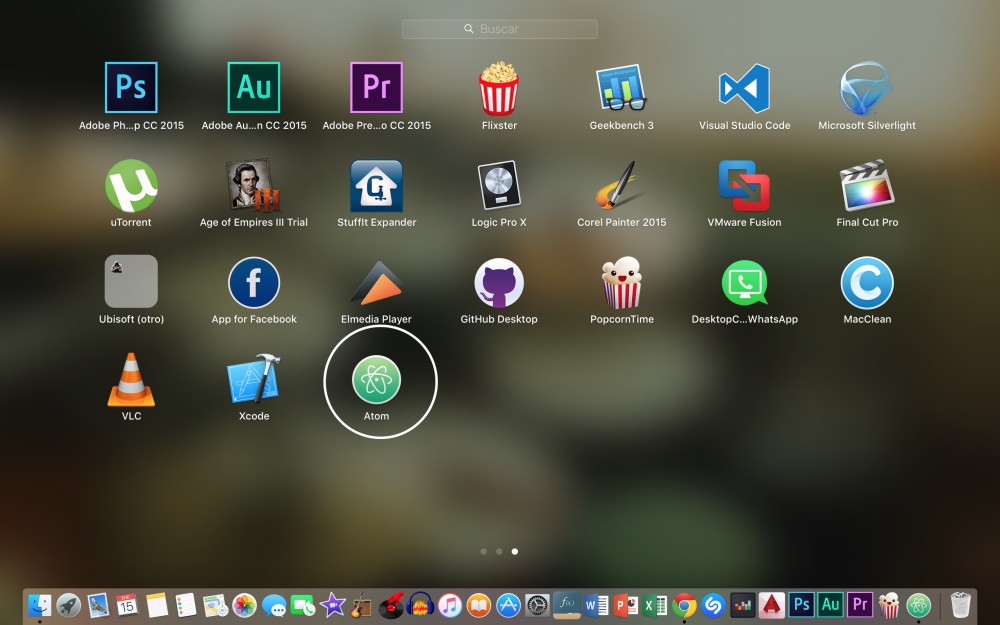
So, with a little help of my friend David García (who took this course the last semester) I installed all the things that I needed to start coding.

The code editor i'll be using is Atom.
Also, I installed Cygwin on my computer so it could run my codes.

![]()
Lo siguiente a desarrollar! Para poder codificar, tuve que bajar un editor. Yo escogí Emacs, el cual en los siguientes días tendré que aprender a usar.
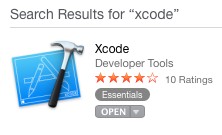
 Estoy utilizando una computadora Mac por lo que baje el Xcode para poder compilar. Tuve algunos problemas para poder instalar la aplicación por lo cual estoy considerando cambiar de computadora y optar por un sistema de Windows.

![]()
Después lo que hice fue instalar un compilador a mi computador en mi caso Cygwin.
Así mismo instale un editor llamado Atom. En ésta fue donde tuve un poco más de complicación ya que al principio no lo podía instalar en mi computadora.
Creo que cada vez voy entiendo mejor las cosas y estoy aprendiendo a como hacerlas de manera correcta.

![]()
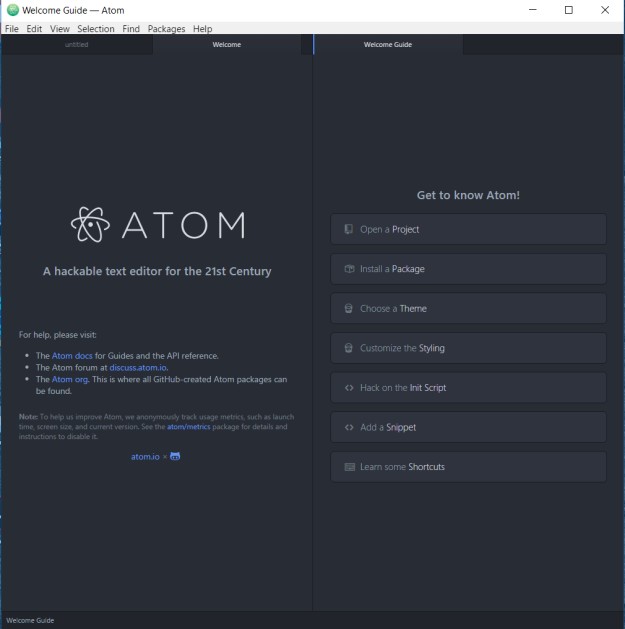
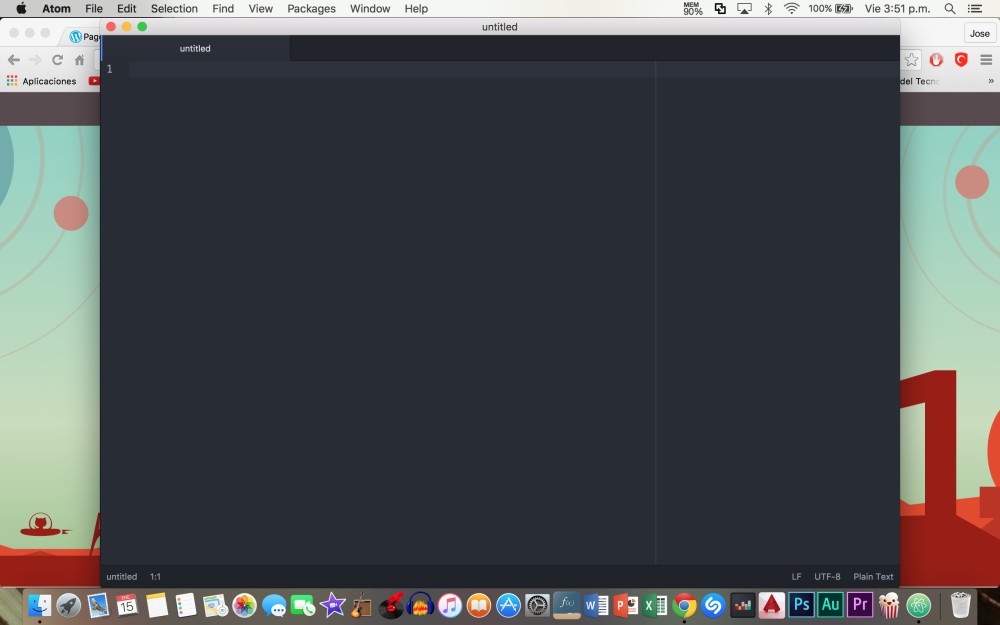
First we need a code editor, so I chose Atom.

This is how it looks:
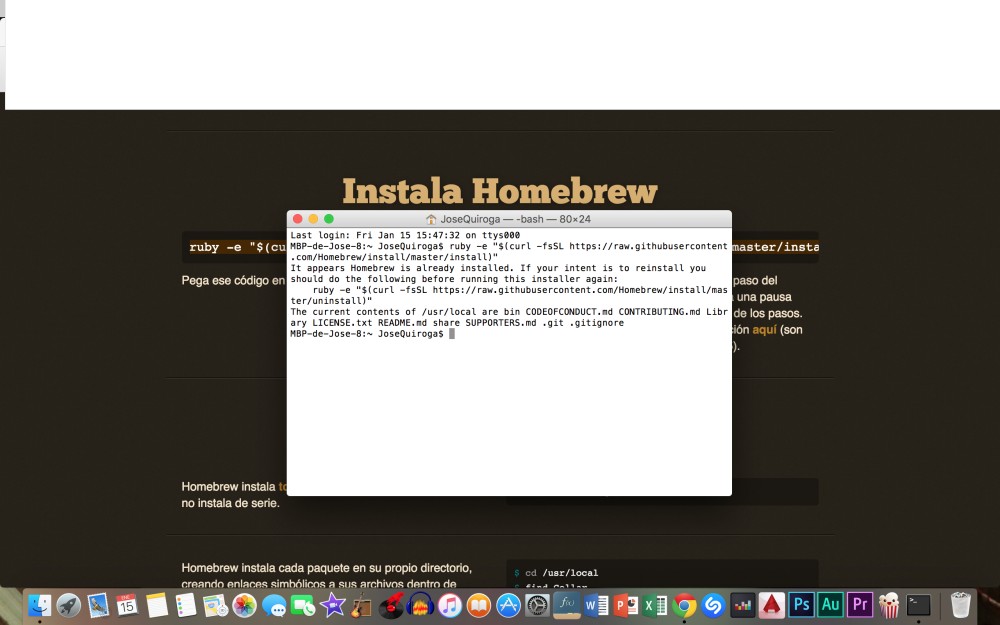
Then we need to setup the machine to run the compiler (g++), I used Homebrew to install the packages into the directory.
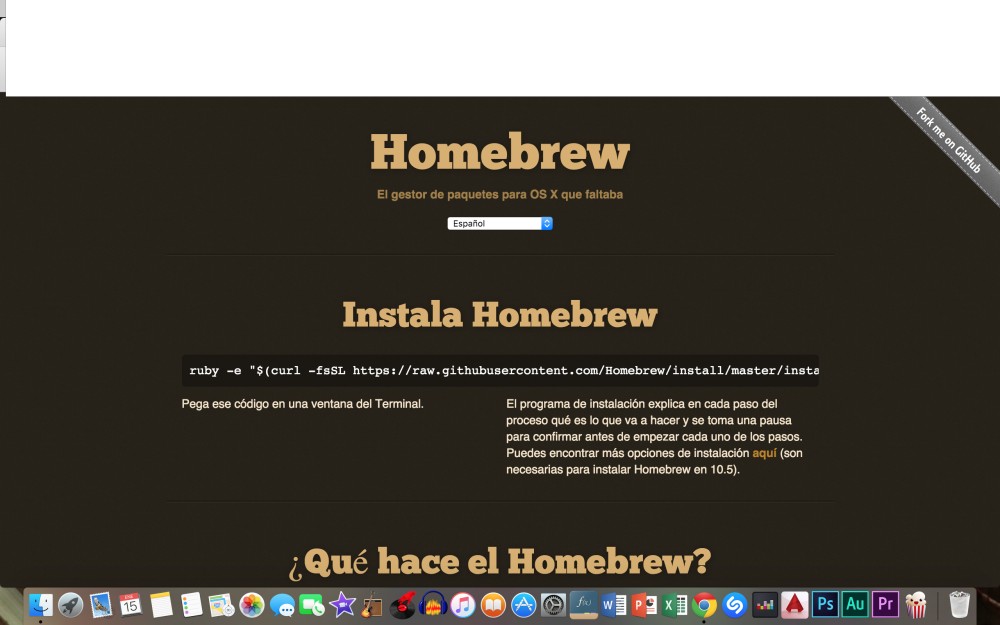
I copied the code to the terminal and the packages installed.
Also you can use the command-line tool for XCode to set this up.
Once you have already installed the packages your computer is set to compile.
#WSQ01

![]()
First I install Cygwin and add the packages off g++ and Make and the I install Atom.
Then I did my first HelloWorld program, compiled and run it.
At the end I had my first C++ code.