--Originally published at Orientierteprogrammierungobjekteundetwasmehr
We are almost on the end of the tutorials, I guess we will finish it and start creating the modified game by Wednesday. Because there are a lot of things we’ve done and there is no much time to explain everything, I’ll just add some images and briefly explain what they are.
This part is about creating the tank health, UI and logic. So I started adding a slider. Because the canvas is it’s own space it’s needed to change the Render mode to World Space.

I moved the slider under the tank, changed its size and deleted the thing to move its value.

I changed the default image by this one, it is a circle with a gap in the middle. Also changed the slider mode to radial (so it fills clockwise and not left to right).
I added the script to control the health slider, I used color interpolation to calculate the color needed in the cicle and set the value of the slider based in the health of the tank.

And now you can see that the tank has a green circle around it. There’s also a explosion animation for the tank, when the healh of the tank reaches zero, an explosion animation is created in the same position as the tank and the tank object is deleted from the scene.
 This part is about creating the shells prefabs.
First I added the shell model to the scene, added a Capsule collider to it, checked Is Trigger (to trigger a method when it collides with a tank), and also a light.

Here’s some code that goes in the Shell. When it collides it searches for tanks (that are in a special layer that groups all the tanks), calculates its distance to the tanks and apply a force and a damage to the tank according to that distance. When the shell touches something, it plays an explosion animation and deletes the shell object. Also, the shell is automatically deleted after it’s been two seconds in the scene (to avoid having around shells that, for some reason, never collided).

Here you can see, I dropped a shell in the scene, it exploded and the tank taked damage. Next part is about shooting shells, I added another slider, changed the image to the yellow arrow and set its position in front of the tank.

Here’s the code that allows the tank to shoot. The tank can charge its shoot and when the player releases the shoot key, a new instance of the shell prefab is created, and its velocity and direction is calculated according to the tank position, rotation and the amount of time that the player pressed the key. It also sets the value of the slider to the value of the charge amount, so the player can see the arrow growing when they press the fire button.
And here you can see the tank rotating and firing shells!
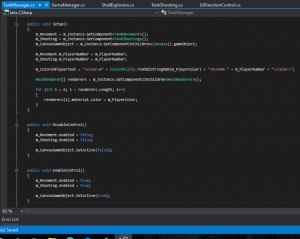
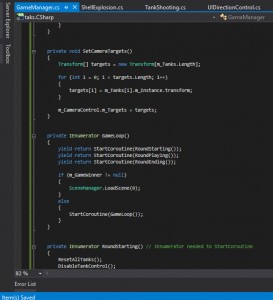
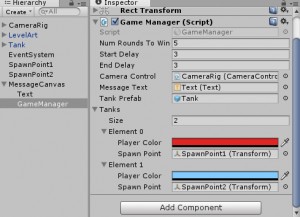
Next in the list is creating a manager to handle the spawning of tanks.





 This part is about creating the shells prefabs.

 Next part is about shooting shells, I added another slider, changed the image to the yellow arrow and set its position in front of the tank.


